Showing posts with label October 2015. Show all posts

Monday, October 26, 2015

ALTERED BOX tutorial by Asmah

Hi there mixed media lovers! 
Asmah here sharing another tutorial with you today. I altered a sunglasses box using several techniques with autumn and rustic feel.
~Enjoy~  
This is the box that belongs to my husband for so many years that I find very sturdy and perfect to alter.
 First of all I gave it a first coat of gesso and let dry.
 Next I used acrylic yellow orche to paint the box.
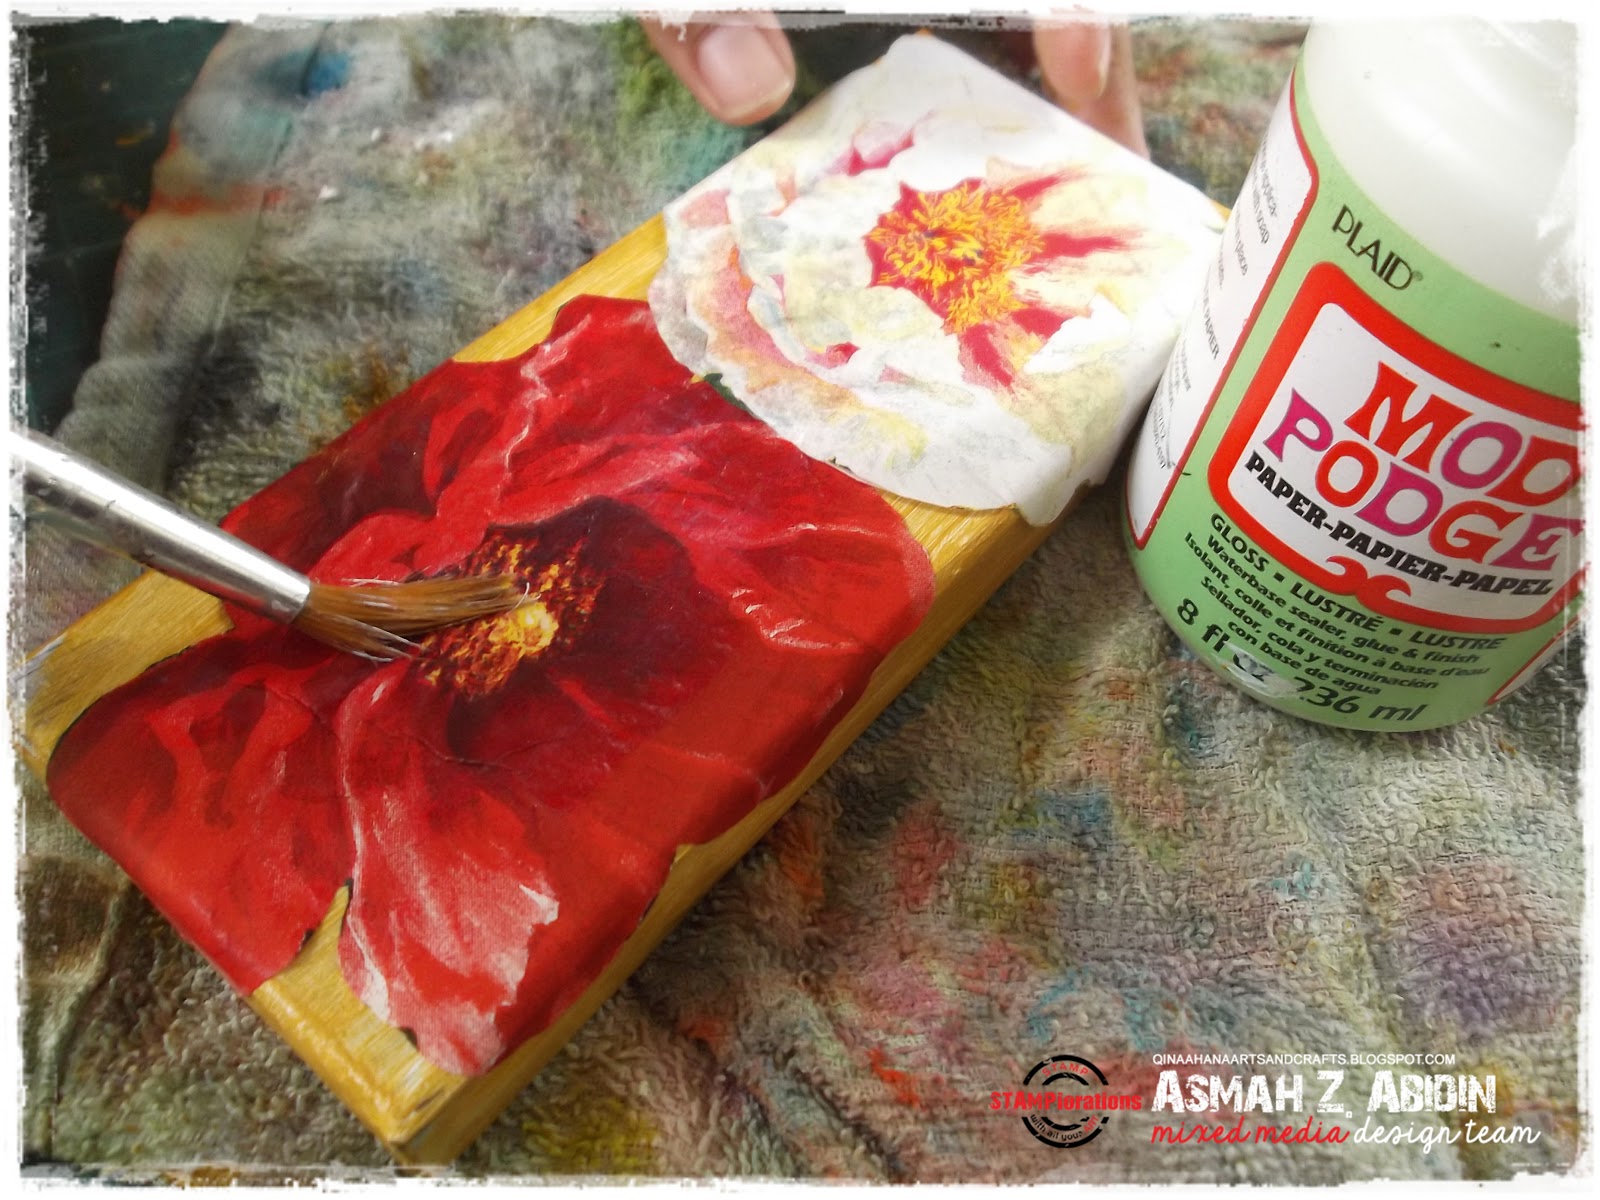
 While it is drying, I fussy cut two pieces of flowers from a pretty napkin with floral theme for decoupage.
 Mod podge was used to adhere the blooms on the lid.
 I used old rose prints ARTplorations stencil to create rose pattern by applying modeling paste through the stencil.
 Meanwhile, I rub two colors (burnt sienna and vermillion red) to create autumnal colors. 
 After it is completely dried, I sand off the box to make it a little bit rustic. This too smooth up the surface.
 I also used mod podge to seal the lid to finish it off.
I sincerely hope this simple and minimalist project will inspire you to alter something useful for yourself or to give away as present.
Till then, have great moments always.

Hugs and smiles,

Friday, October 23, 2015

MIXED MEDIA TAG tutorial by Susanne

Hi my dear crafty friends!

It's Susanne today and I'd like to show you the step by step instructions for this mixed media tag:


Step 1: I started with a white tag and colored it with an ombre effect with Distress Inks. I used: spiced marmalade, mustard seed and barn door. I added some texture paste with the ARTplorations "Botanical Lush" stencil in the next step. As the Distress Inks are reaktive with water they gave the texture paste a light color.


Step 2: I added some more texture with the "Dots and Dashes" stencil and the Marabu Art Sprays (chilli).

Step 3: I added some Prima Micro Beads to the tag. I used the colors "Pollen" and "Blush". I used Gel Medium to adhere the beads to the surface of my tag.


Step 4: I used some gesso to lighten up the colors a little bit. When the gesso was dry, I added some black licorice Gelatos color.


Step 5: I finished the tag by adding some embellishments. I used a clear epoxy sticker together with a free printable circle. I used dies from Sizzix and CAS-ual Fridays. The text comes with the Subway Art Builder Sets Dare & Create from STAMPlorations.


I wish you a nice and crafty day, see you next time!
Susanne.

Stamps from STAMPlorations:
Subway Art Builder Dare
Subway Art Builders Create

Stencils from ARTplorations:
Dots and Dashes
Botanical Lush

Monday, October 19, 2015

HAPPY FLOWERS ART JOURNAL PAGE tutorial by Kim

HI!

Thanks for coming by today! It's kim today with a bit of stencil fun to share.

Today I wanted to share a page I made in my art play journal.

I have lots of pictures to share so grab a cup of your favorite beverage and enjoy!


Step 1 a clean blank page primed with white DecoArt Gesso and masking tape in my journal made from a magazine.

Step 2 I used Americana All Surface acrylic paint in various shades. I misted with water and played with the drips. While it was still partially wet, I sprayed white Dylusions in the middle and bottom corners.

Step 3 Once dry, I shaved some Derwent Inktense blocks around the edges of the page.


Step 4 I misted water over the shavings and smudged with my fingers. I rubbed a little black Inktense along the bottom to bring up the wrinkles in the masking tape.


Step 5 Using the ARTplorations stencil Daisy Dance and DecoArt Media Fluid Acrylic Carbon Black I created the contrasting border all around.


Step 6 and Step 7 Using ARTplorations Happy Flower stencil on both steps. First I stenciled in gray the background flowers. On top of those using DecoArt Crackle I flipped the stencil to create another set of blooms,


Final Steps  Once dry I colored the crackle flowers with alcohol ink and some random dots and splatter with Americana Cotton Ball acrylic paint.

Have a fabulous day!

hugs,
~kim

Monday, October 12, 2015

TREASURE BOX tutorial by Tanja

Hi there,

it's Tanja here. Today, I would like to show you how to turn an ordinary wooden box into a little treasure:


  • cover the whole box inside and out with grey Chalk Paint
  • apply light pink Chalk Paint over the grey coat but leave the inside of the box grey
  • add turquoise Inka Gold to the edges of the box
  • color the roses with purple Inka Gold and add gemstones to the centres of the flowers

Here is a closer look at the front and the back of the box:


My little daughter Emily (5) was very happy with the result and is going to store her  hair ties inside.

Thank you so much for stopping by.

Yours,


Friday, October 9, 2015

LINEN CANVAS tutorial by Lee-Anne

Hello, everyone, it's Lee-Anne back with another mixed media design for you today.  This is a very simple and easy piece of art for your home.


It starts out with a linen canvas that I found at a big box craft store (yes it is the same color...pardon my lighting issues!)


I covered it generously with clear gesso and let it dry.


Next, I placed the ARTplorations Happy Flowers stencil over the canvas and added white crackle paste. It was allowed to dry overnight as that gives the best crackle appearance.


Now the fun begins!  I placed my (well-loved) stencil back over the image and added color in three layers.  First I dabbed on some Walnut Stain Distress Paint and wiped it lightly with a baby wipe. Then I added some Antique Bronze Distress Paint in the same manner. And the final step was to add more depth with a PITT artist big brush pen in black.  I left the stencil in place for each of these steps.


Then I used a PITT artist big brush pen in gray and outlined the entire flower for a shadow effect. The final step was to use a white PITT artist big brush pen to add some highlights.


And with better lighting...the finished canvas:


It would be so easy to make a pair of these simply by flipping your stencil on the second canvas! Hope I've inspired you to try something different today!

Monday, October 5, 2015

ALTERED COFFEE JAR tutorial by Carol

Hi there! Carol here with my tutorial for October. I love altering things and today I'll show how I turned a humble coffee jar into a Christmas light holder.


Starting with a clean jar...any size will do, so long as it matches up with your stencil.


I scrunched and tore up lots of tissue (Shery always wraps her orders in tissue so I have a ready supply!), then I used Mod Podge to glue it all over and left it overnight to dry. I then gave it a coat of paint....I used an opaque one but I think a translucent would probably work better.


While the paint was drying I stencilled the Christmas Trees onto tissue using Sparkle Medium and once dry painted the back of the tissue with the same paint as the jar.


The jar looked a bit dull so I gave it a wash with some very watered down white gesso...this found it's way into all the creases of tissue and gave a lovely effect. I dusted the whole of the jar with Glamour Dust then left it to dry.


More Modgepodge was used to attach the trees and I added some tinsel and lace to finish.


This could easily be adapted to make something Halloween themed...or any other occasion for that matter! Unfortunately I didn't have a candle light big enough to show how this looks lighted...but all the sparkle really shimmers. The finished project could also be used as a vase.

I hope you've enjoyed this month's tutorial, I'll see you again next month.

Carol x

Items used:
ARTplorations - Christmas Trees stencil

Others:
Modgepodge
Glamour Dust
Paper Artsy Fresco Finish Acrylic Paint


Search This Blog