Showing posts with label December 2015. Show all posts

Monday, December 21, 2015

MIXED MEDIA CANVAS tutorial by Susanne

Hi my dear friends, Susanne here today.

I have a process video to share today. For this canvas I used Brushos to create my background. It's not the best medium for backgrounds, because they are not waterproof. So you have to work fast when you build up layers.


Have fun watching the video!


I wish you all Happy Christmas and a gorgeous and colorful new year! Hugs, Susanne.

ARTplorations stencils:
Shower of Flutters
Leaf Bliss Large

STAMPloration stamps:
Blossom like a Butterfly

Friday, December 18, 2015

FA LA LA LATTE TAG tutorial by Kim

Hi!

It's Kim today and I have a tag I would like to share along with some photos of how I made it.

Step 1 I started with a print I made from my homemade gelatin plate DecoArt acrylics and the awesome Large ARTplorations stencil, "Leaf Bliss".


Step 2 Once dry I added some more stenciling on top in gold acrylic using the ARTplorations, "Retro Circles" stencil.

Step 3 Before the gold paint dried, I sprinkled clear embossing powder on top. This is the unmelted stage.


A bit closer, I love the texture embossing adds!


Step 4 Heat emboss the powder,


 Step 5 I added some more embossing in white using the STAMPlorations stamp set, "Artsy Border Maker". I used WOW Opaque Bright White, which I love because it stays white on top of the background, especially cool on top of red :)

Step 6 On the background I stamped the Fa La La La La part from, "Caffeinated Christmas" as well as onto the mini tag up top.

Have a great day!
~kim

Monday, December 14, 2015

SPECIAL DELIVERY TAG tutorial by Tanja

Hi there,

it's Tanja here today and I would like to share the step-by-step tutorial for this Christmas Tag with you:


  • cut out two tags - one from burlap and one from cardboard - using the medium tag from the Sizzix Tag Collection
  • glue them together with Gel Medium
  • also add some Gel Medium to the edges of the burlap to avoid fraying 
  • let dry thoroughly
  •  stamp the stocking from the STAMPlorations Joyful stamp set twice with Memento (Tuxedo Black) 
  • cut out both images
  • color one of the images with Delta Markers, Liquid Applique, Wink of Stella Silver Glitter and add Glossy Accents to the pompons
  • glue one on top of the other in order to get a sturdy embellishment
  • go around the edges with a black PITT Artist Pen for a neat finish
  • set aside to dry
  • color the burlap with Distress Paints (Mermaid Lagoon, Cracked Pistachio, Evergreen Bough)
  • stamp the sentiment from the same STAMPlorations stamp set with Versamark on a strip of black cardstock and heat-emboss it with WOW! Metallic Silver embossing powder
  • layer the sentiment strip onto a piece of silver-dotted acetate and adhere in to the tag with double-sided adhesive
  • dye a piece of seam-binding with the same Distress Paint colors used to color the burlap tag

Here are close-ups of the stocking and the sentiment:


Thanks for stopping by.

I am wishing you a wonderful Holiday Season.


Yours,

Friday, December 11, 2015

STRETCHING STENCILS tutorial by Carol


Hi there, Carol here today with a tutorial to show how you can extend those smaller stencils to cover a larger area seamlessly.

Let's begin....I started with a gorgeous pillow box from a well known retailer but wanted to cover up the logos so started with a coat of gesso.


I chose the Old Rose Prints stencil and embossing paste taking the stencilling down over the curved ends.


Allow the texture paste to dry...I prefer to let mine dry naturally or you can use your heat tool. Re-position the stencil so the middle rose is lined up over the half rose from the previous stencilling and apply texture paste through the right half of the stencil. Again allow to dry.

(You might find it helpful to mark the stencil so you know which way up it goes...guess how I know that one!)


Repeat until you've covered your project.


Now it's time to decorate: I chose to use the same colour paint as the original box and left the underside untouched. Sentiment die is from Fond Expressions 2.


I hope you've enjoyed today's tutorial and it helps you get more from your stencils.

PS Don't forget the Stencil Hop at STAMPlorations we'd love to see you linking up your projects.

Products used:
ARTplorations: Old Rose Prints stencil
STAMPlorations: Fond Expressions 2 stamps

Others:
Texture Paste
Dies from Spellbinders
Stickles
Flower Loom

Monday, December 7, 2015

DISCOVER -ART PAGE tutorial by Irit

Hello my dear crafty friends, Irit here today. Welcome to my Stencils tutorial made with ARTplorations and STAMPlorations gorgeous products. 
 I decided to make an art page A4 size and to use the new big stencils, but as you can see plans changed and the final piece is a long, but only 2/3 size art page. 
So let's go and make this  Mixed Media piece.
Step by step tutorial:
1. First I used a very thick A4 cardstock, green acrylic paint with make up sponge and the new Leaf bliss Large stencil. 


2. The green paint was too obvious, so I added another layer of yellow paint to make the shades. Just put the stencil in the same place- as much as you can and add a bit of yellow paint over some pieces.


3. The next step was to add some texture with light texture paste. I used Golden paste, but any light paste would be good for this step. I used  another new large stencil- Happy Flowers Large.


4. Now let's add some color. I used Tattered Angels 2 shades of pink mists over the page and now you can see those gorgeous textured flowers from the previous step.


5. As it looked too pink I added some yellow golden mist here and there.Please remember to let your piece to be totally dry to prevent the color mixing (unless you want it to mix) or use your heat gun between mists.


6. Now, as it always happens with MM pieces I decided to cover everything with a bit of magenta acrylic and a lot of white paint. Don't even ask me why. I just felt that this is the right thing to do at that moment. And at this exact moment I decided to cut this piece  to 2/3 size. Don't ask me why again. The mystery of Mixed Media is that you never know what you are going to get at the end. 


7. And now for the finished project. I will show you the pieces of it:  I added white pen dots around the textured flowers. Added a lot of stamped borders using STAMPlorations fantastic border set called ARTSY Border maker. Then I stamped the words from one of the best jorunalling sets ever- Bold sentiments- Discover set. 


 And here is my beauty at the end!


Friday, December 4, 2015

WOOD PANEL ANGEL tutorial by Lee-Anne


Hello, creative lovelies!  It's Lee-Anne with a Christmas project for you today.  This is a 6" x 6" x 1" birch wood panel that you can set on a table, or hang on the wall.


  • this is the unfinished birch frame

  • here it is painted gold.  I've used a layer of gold watercolor paint, followed by a layer of gold acrylic mixed with some water and an extender.  It gave a nice mottled effect.


  • while that was drying I painted some grungeboard letters with black acrylic ink


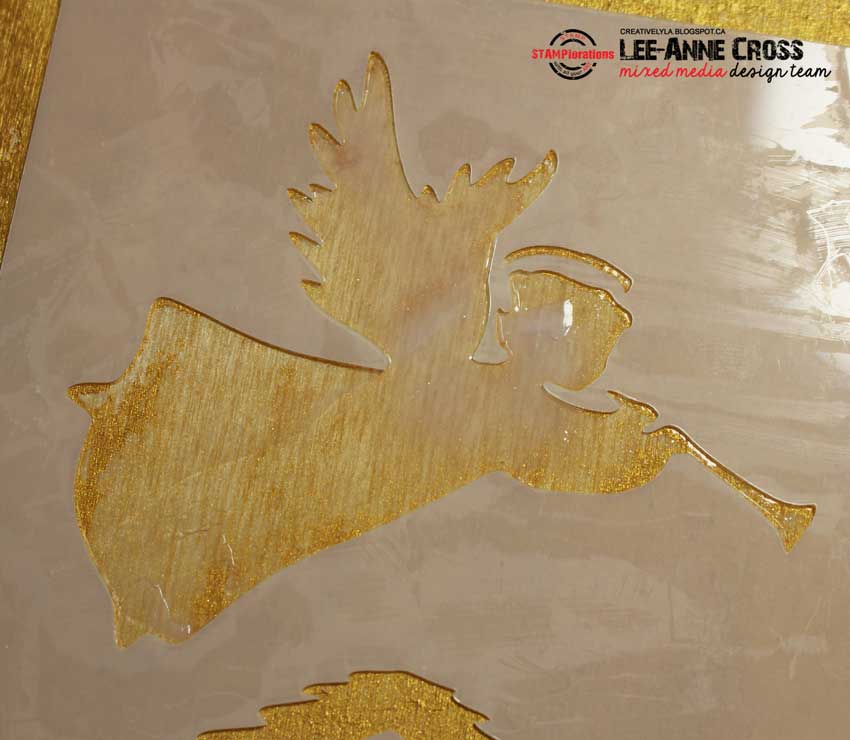
  • then I placed the stencil back over the dried embossing paste

  • and masked off the rest of the stencil and the wood panel


  • this is the effect I achieved


  • the final step was to adhere the letters to the panel

  • And again, here's the finished panel

Hope this has inspired you today...thanks for checking out my tutorial!

Search This Blog